General Usage#
Set up#
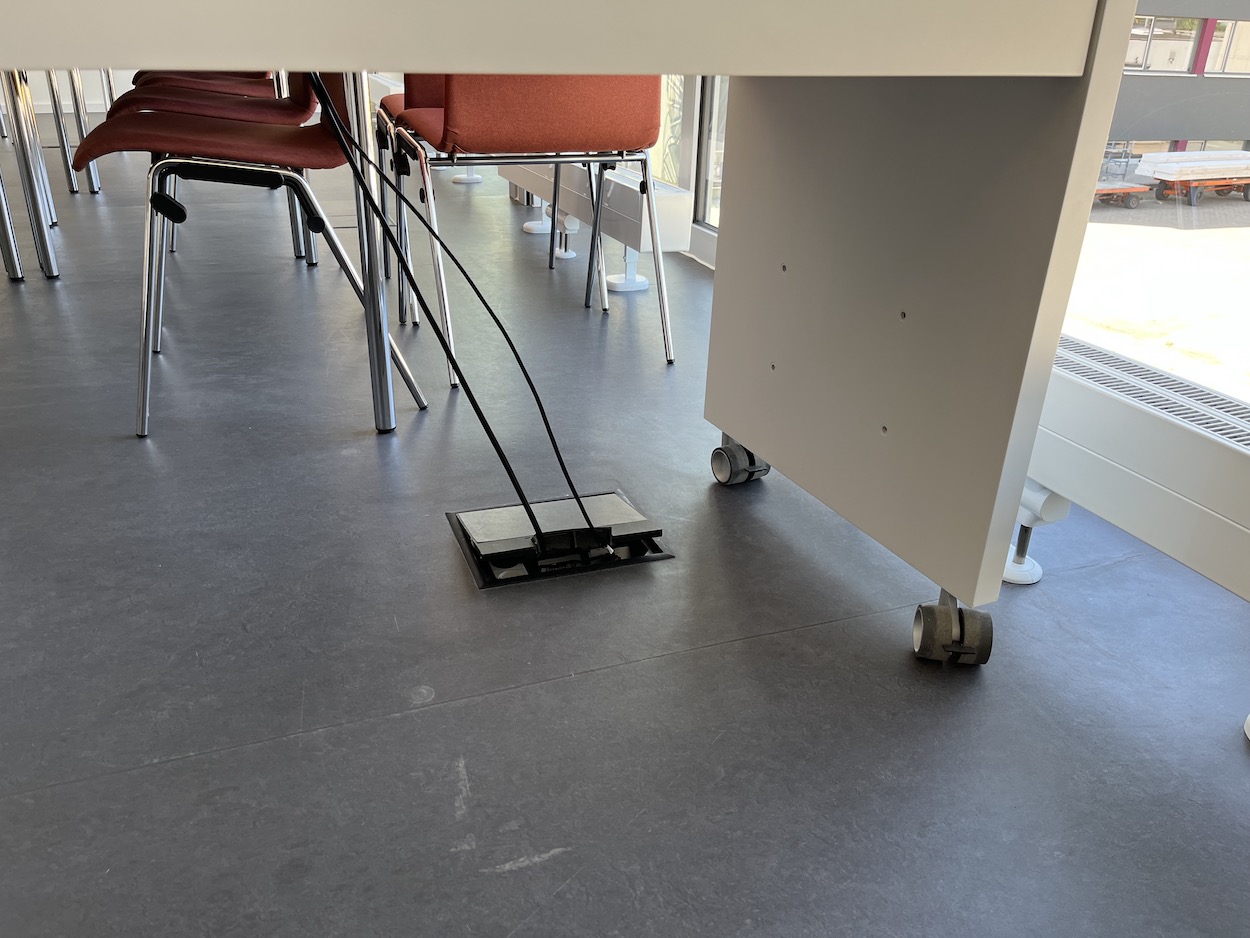
At first the VR-Desk must be pulled out of the projector room and into the main room. The VR-Desk is equipped with a Monitor, Mouse, Keyboard, VR-Glasses and a iPad. It might be necessary to make some space by moving the conference table.

The Power and the LAN Connector needs to be connected to the floor outlets next to the window.
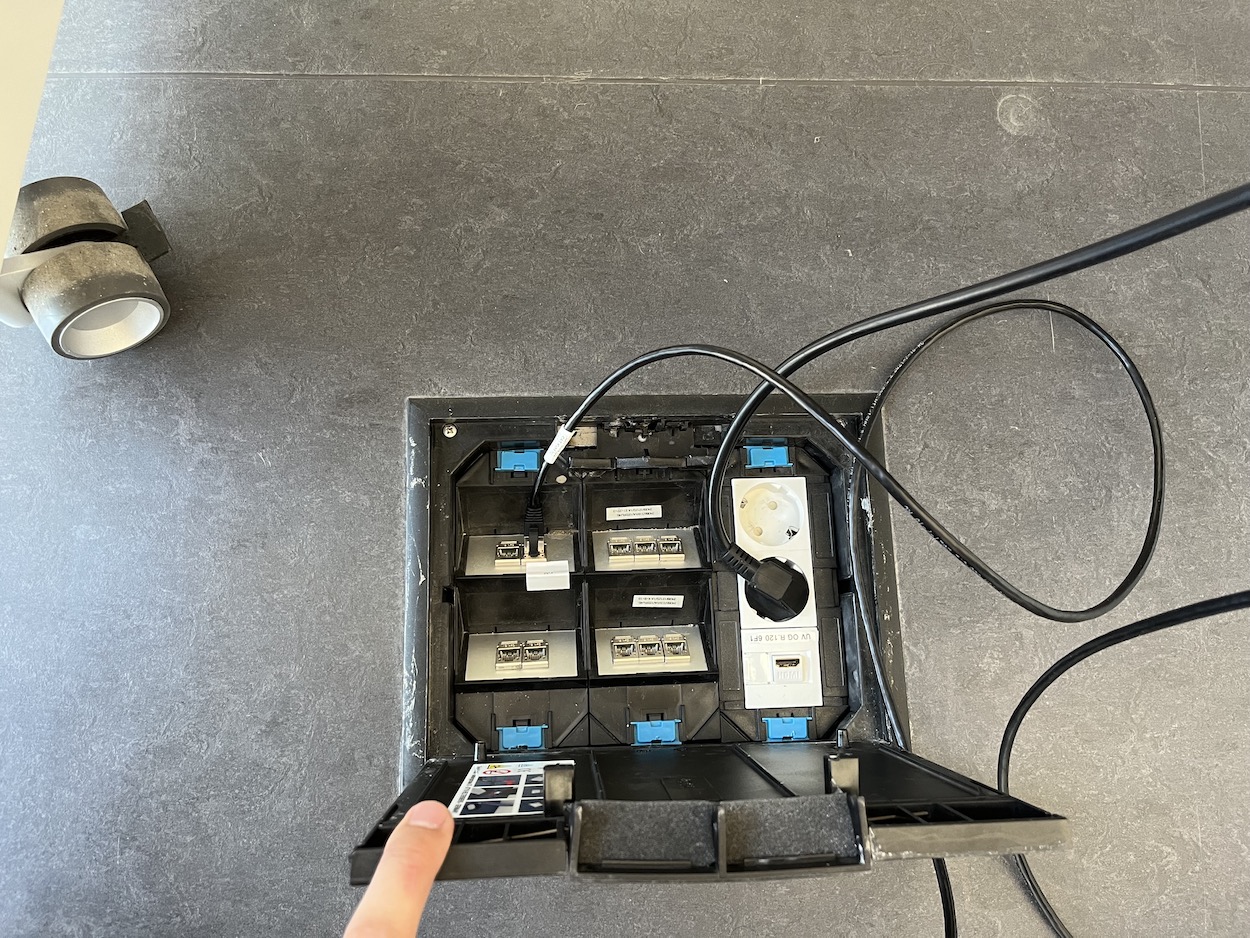 |
 |
Currently, it is necessary to switch on the computer in the hardware-room manually. The computer is located in the rack at the bottom.

Afterwards the projector can be switched on using the iPad by clicking on the “VR-Lab” App Icon.

This opens the VR-Lab Media Controller, which can be used to control the projector. Choose “Power” to switch on the projector and the devices in the hardware-room.

Afterwards, the VR-Lab App provides the following options:
VR: enables the 3D VR-Mode, which can be used with Paraview
Presentation: extends the PC-Desktop to the projector
Clickshare: allows to connect any device connected to usb-click share device to the projector
Laptop: enables the HDMI input located in the floor outlet next to the window
Tear Down#
The teardown is the reverse order of the setup. First the PC needs to be shut down and the mouse and keyboard can be switch off. Afterwards the projector can be switched off using the iPad by clicking on the “VR-Lab” App Icon and choosing “Power” and “Shutdown”. Afterwards the VR-Desk must be pushed back into the projector room.
The room should always be left as it was found. I.e., return tables and chairs to their original position. Close windows, open blinds and switch off lights.
Please make sure that you lock both, the hardware-room and the main door when you leave the room.